How to Create Your Own Photobooth Frame (Free, in Your Browser)
23/09/2026 · 5 min
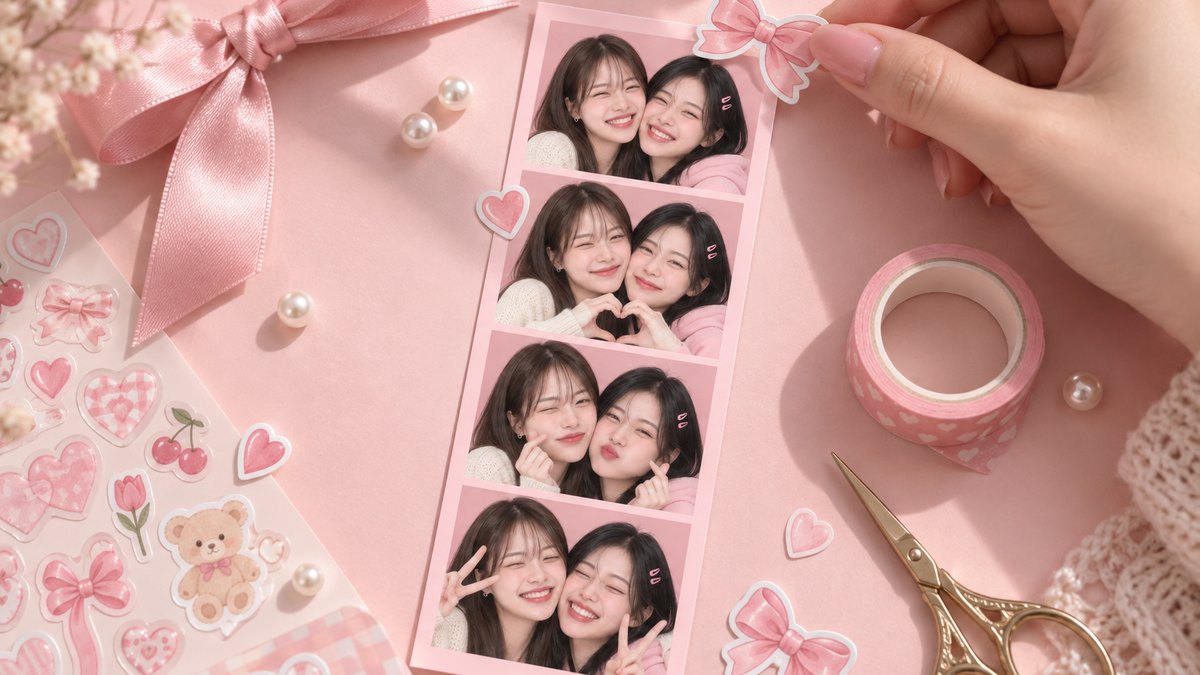
Bondi's frame library rotates with the seasons, but here is the thing about pre-made frames: pick one, and sooner or later you will spot the exact same frame on someone else's strip. The fix is to build a custom photobooth frame yourself. Start from the Classic frame, choose a paper color, add stickers, then drag everything exactly where you want it. It all happens in your browser on Bondi's online photo booth, no editing app required.
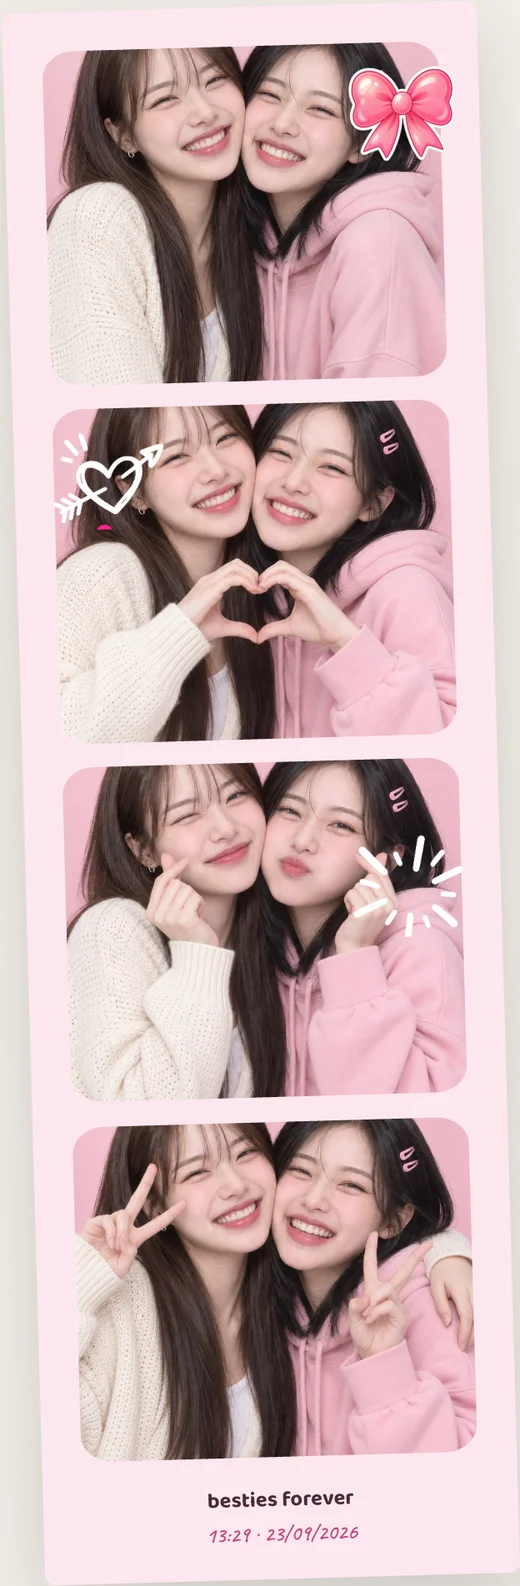
This guide walks through one sample concept, a pink coquette vibe, with real screenshots at every step. At the end you will find three more quick recipes to try.

What you need for a custom photobooth frame
A phone or laptop with a browser, that is the whole list. Open the photo booth and you will see the strip preview on the left and the Customize panel on the right: Frame, Backdrop, Paper color and Stickers. I am using the vertical 4-cut strip layout here, but the 2x2 grid or the single big frame works exactly the same way.
For the screenshots I uploaded photos from my library. When you do it for real, just shoot with your camera: a 3, 5 or 10 second countdown per shot, with pose prompts between frames so nobody freezes up.

Step 1: pick the Classic frame as your base
It sounds backwards to chase a pretty frame by picking the plainest one, but that is the trick. Classic sits first in the Frame row, no artwork, no decoration, a blank sheet waiting for you. Pre-made frames come with fixed art; starting from Classic means every choice after this one is yours.
Step 2: paper color sets 70 percent of the vibe

The Paper color row has seven options, from Classic cream to notebook grid. This is the step worth slowing down for, because changing the paper changes the feel of the whole strip. I went with Pastel pink for the coquette concept. Matte black reads moody, Classic cream gives you that soft Korean film look, Gold leans fancy, Mint keeps it fresh.
The preview updates instantly, so click around until something clicks back.
Step 3: stickers, using the 1 theme + 2 accents formula

At the end of the Stickers row there is the button labeled All, tap it and the full library opens. My go-to formula: one theme sticker that defines the concept, plus one or two accent stickers for rhythm. For this pink build I picked the Pink bow as the theme, then added the Arrow heart and Sparkle from the doodle set, which are drawn in that hand-scribbled purikura pen style.

Here is the fun part: stickers are draggable after you place them. I put the bow on the top corner of frame one, tucked the arrow heart against the left edge of frame two, and dropped the sparkle in frame three. One rule worth remembering: keep stickers near the edges and leave the middle open for faces. Drag the round corner handle to rotate or resize, hit x to delete.
Step 4: caption and date stamp to finish
Scroll to the caption field and type something short. I went with "besties forever". Turn on the date stamp too, and here is a detail most people miss: you can set it to any date, so print your friend group's anniversary instead of today.
If you want a signature, there are 8 handwritten styles right below.
The result: a frame nobody else has
A pink 4-cut strip with a bow on the corner, doodle hearts, your caption and your date. It looks like a designer frame, except it is not in the library. Someone else can open Bondi and they still will not get this exact frame, and that is the whole point.
Hit the shutter for your 4 shots and download the high-res PNG. Need pose ideas to fill four frames? Grab some from 20 cute photo booth poses.
Three more quick recipes
The pink build is just one way to play it. Try these:
- Dark girly: Matte black paper with the white Sparkle and Pink star doodles. White pen strokes on black paper pop hard.
- Soft Korean film: Classic cream paper, a single doodle heart in one corner, lowercase caption. Pure minimal life4cut energy.
- Holiday party: White paper, the Santa hat sticker placed right on someone's head, snowflakes in the corners. The library rotates with the seasons, so there is always something timely.
Open the booth and give it three minutes. That is genuinely all a custom frame takes.
Frequently asked questions
Is creating a custom frame on Bondi free?
Completely free: frames, papers, stickers, downloads, all of it, no account required. Your photos are processed in your browser and never uploaded anywhere, so experiment away.
Why start from the Classic frame?
Because it is a blank canvas. Pre-made frames are pretty but fixed, and everyone who picks one gets the same look. Building from Classic means the paper, stickers and layout carry your taste instead of a template.
Can I rotate and resize stickers?
Yes. Tap to select, drag to move, use the round corner handle to rotate and resize, and the x button to delete. There is no limit on adjustments, so tweak until it feels right.
Can I print the result?
The PNG downloads at high resolution. A 4x6 print at a photo lab or from a home printer comes out sharp, and the vertical strip fits the classic 2x6 photobooth format that slides into a wallet or journal.
Try the photo booth right on the web
Frames, papers and studio backdrops - free, no sign-up.